While there are several chili recipes to choose from, this Classic Homemade Beef Chili is an absolute favorite. It’s super flavorful and easy, and it can be customized in a number of ways to make it your very own. With over 150 five-star reviews, this recipe has been a favorite among readers for over 12 years — and with good reason. It’s a truly classic recipe worth making again and again.

“I’ve tried a lot of chili recipes, but I always return to this one! The flavors are so good and meld so well. 10/10 recipe for me!” — Amity
Big Chili Flavor Without a Lot of Work
This recipe is made with simple ingredients like ground beef, two types of beans, canned diced tomatoes, tomato paste, and a homemade blend of chili spices. What makes it so dependable is how much flavor you get for very little effort. Sauté the onion and garlic first, brown the beef in the same pot, then let everything simmer together for at least 30 minutes so the tomato paste, spices, beans, and tomatoes have time to really come together. It’s as easy as that.
The ingredients are familiar and easy to find, prep takes only 5 minutes, and one pot makes six hearty 1-cup servings for about $1.86 each. You can swap the protein, add extra vegetables, or change the toppings depending on what you already have. It’s a low-effort dinner that doesn’t taste low effort, and the leftovers are perfect for lunch later in the week.
-
Don’t skimp on the seasoning. Bland chili is often simply underseasoned. Use a measured blend of chili powder, cumin, cayenne, garlic powder, onion powder, salt, black pepper, and brown sugar instead of a pre-mixed packet. That lets you control the salt, spice, and flavor balance. Add the full amount listed, let it simmer, then taste again at the end before adjusting anything.
-
Water is intentional here! While broth obviously adds flavor, this recipe is full of plenty of bold chili flavor on its own, so plain water works just fine. Using water keeps the cost down and gives you more control over the salt without leaving the chili short on flavor. If you already have a carton of beef broth open, you can use it in place of the water — but it isn’t necessary.
-
Build the flavor in stages. Cook the onion and garlic until softened and fragrant before adding the beef, then let the beef brown before the tomatoes and beans go in. Those first few steps only take a little extra attention, but they give the finished chili a much fuller flavor than adding everything to the pot at once.
-
Give it the full simmer. Keep the heat low once the lid goes on. You want a gentle simmer with small bubbles, not a hard boil. Stir occasionally and give it at least 30 minutes so the flavors can meld and the sauce can thicken. If you let it cook longer — which you can, and the flavors will only get better — stir in a small splash of water if it starts getting too thick.
-
Switch up the protein to fit your budget. Ground beef can get pricey, so use whatever protein makes the most sense that week. Ground turkey is an easy swap, or you can follow a turkey chili recipe instead. To skip the meat altogether, add another can of beans or make a vegetarian chili, which is hearty enough that you won’t miss the beef. For a different cooking method, rice cooker chili is another easy, budget-friendly option.
What to Serve with Chili
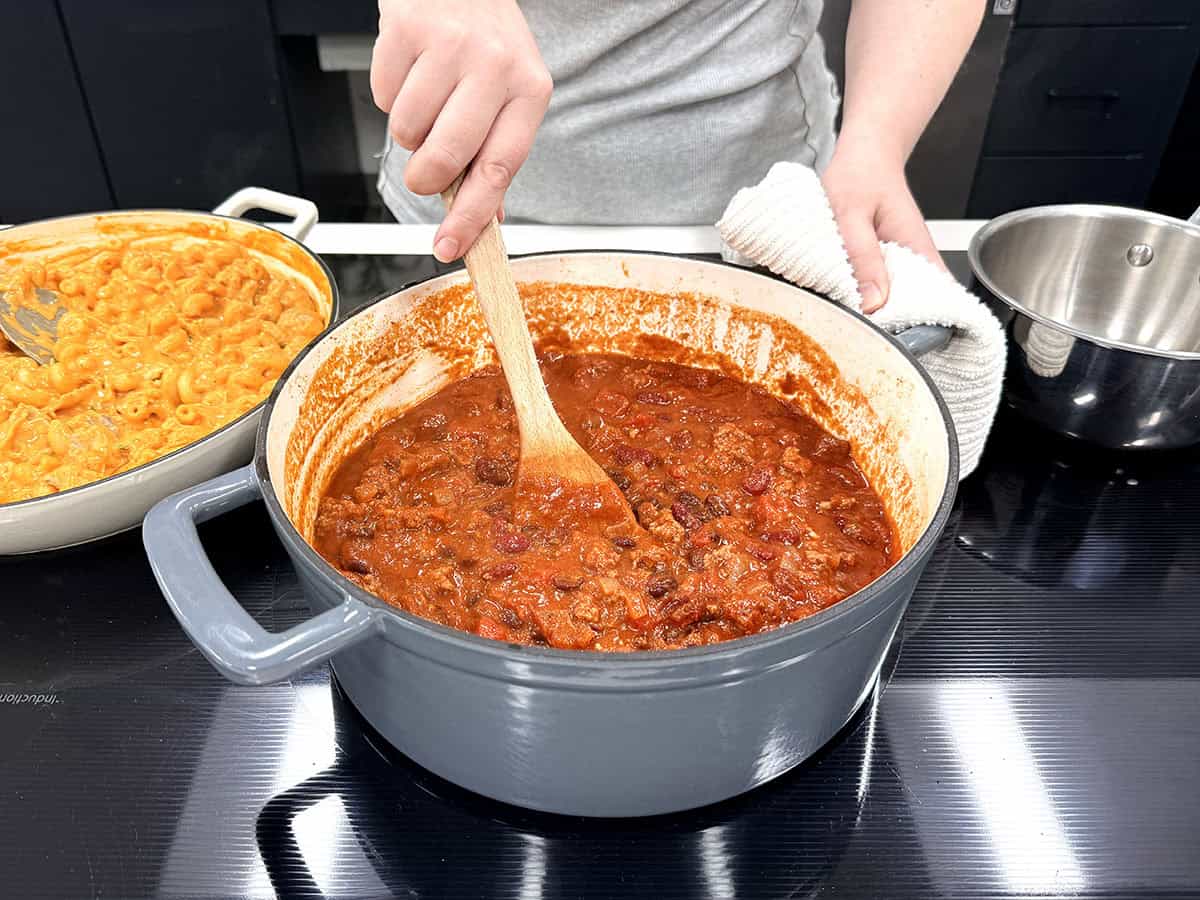
A great pairing for this homemade chili is jalapeño cheddar cornbread and rice. That cheesy, slightly spicy cornbread is perfect for scooping up every last bit from the bowl. If that sounds too spicy, try homestyle cornbread instead. Cheddar drop biscuits are another popular option among readers. Adding a simple bread on the side helps stretch those six 1-cup servings when feeding bigger appetites, and setting out a few toppings lets everyone finish their own bowl exactly how they like it.
You can also spoon the chili over a baked potato for an extra-hearty meal that’s especially good for stretching leftovers into another dinner. Or turn it into chili cheese nachos by layering the chili over tortilla chips with plenty of shredded cheese, then pile on sour cream, guacamole, sliced jalapeños, diced red onion, or whatever toppings you like best.
Meal Prep and Storage
This chili is the ultimate meal prep food. The recipe makes a big batch, the leftovers taste even better the next day as the spices have more time to develop and blend into the sauce, and it’s extremely freezer-friendly. Divide the leftovers into 1-cup portions for easy lunches or dinners ready to reheat throughout the week. Keep toppings and breads separate so each portion can feel a little different depending on what you add when you reheat it.
Reheat individual portions in the microwave for 1–2 minutes, stirring halfway through, until piping hot throughout (165°F).
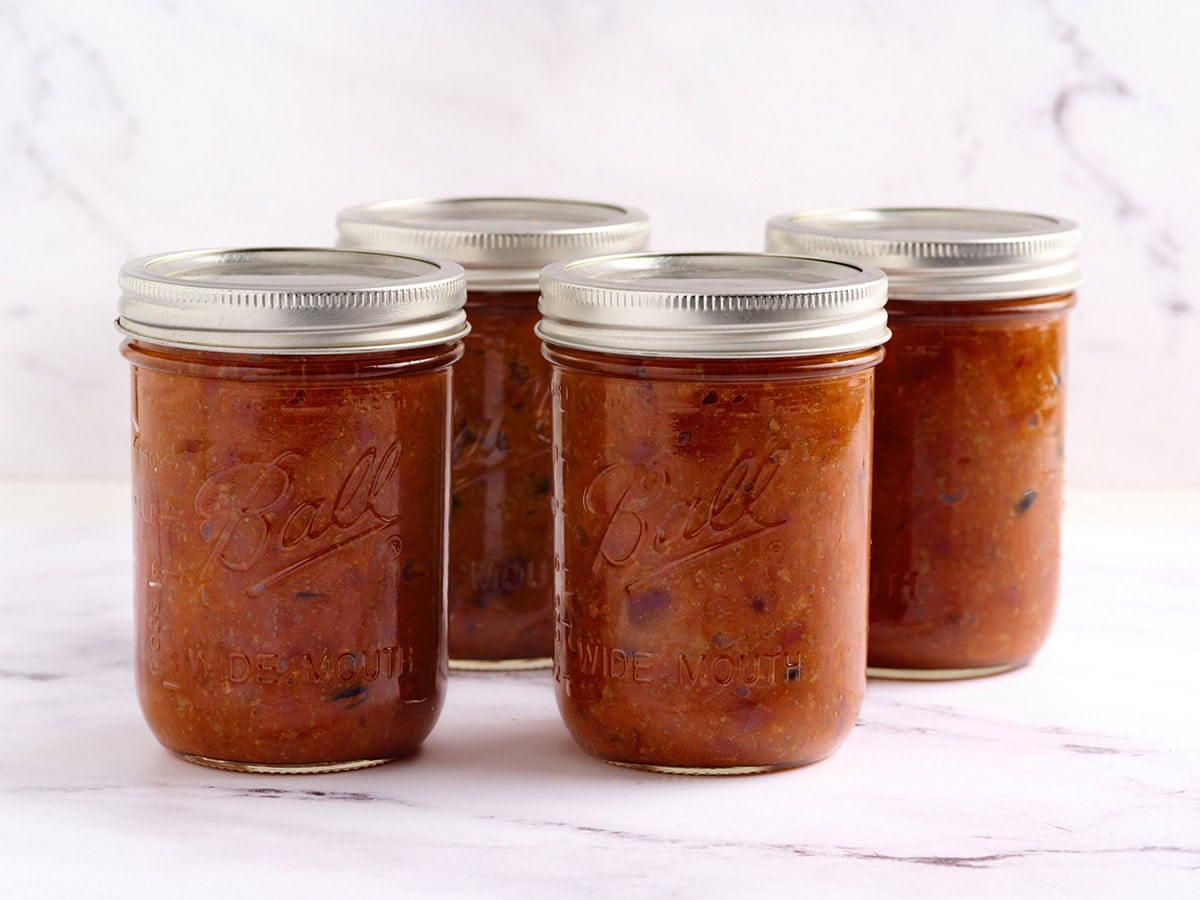 Shown here stored in glass jars for meal-prepping.
Ways to Customize Your Chili
Customizing a bowl of chili is one of the best parts — you can eat this all week and no two bowls will be the same. Here are some ideas for what to add in or pile on top:
-
Add other liquids: Replace some of the water with vegetable juice (like V8), dark beer, or beef broth to change the flavor. A dash of soy sauce, Worcestershire sauce, red wine, hot sauce, apple cider vinegar, or chipotle chilis in adobo sauce can also amp things up.
-
Customize the spices: Try chipotle powder or smoked paprika for a smokier flavor. Add a little cocoa or instant coffee crystals for a richer, earthier flavor, a dash of cinnamon for warmth, or experiment with tarragon or curry powder for a change of pace.
-
Add extra veggies: For more flavor, color, and nutrients, try adding zucchini, bell pepper, poblano peppers, jalapeños, mushrooms, corn, pumpkin, sweet potato, or butternut squash.
-
Get creative with toppings: Browse your pantry, fridge, or freezer for fun toppings like shredded cheddar, sour cream, sliced jalapeños, diced red onion, fresh cilantro, hot sauce, or crushed tortilla chips. A little contrast in texture and temperature goes a long way toward making each bowl feel special.